Return to All Articles
Article Sections
1. Getting Started
2. Leads
3. Library
4. Sales Template
5. Estimate
6. Proposal
7. Invoice
8. Change Order
9. Organization Management
10. Team Management
Manage Organization Members
Learn how to manage organization members step-by-step.
By Erro Support | 01/25/2026
1. Intro
Organization members are users who have been invited to join your organization. They can have different roles and permissions based on their assigned role within the organization. The number of users within your organization is based on exactly how many seats you have purchased. For example, if you have purchased 5 seats, you can invite up to 4 other users to join your organization. If you need to add more users beyond your purchased seats, you will need to upgrade your plan to accommodate the additional users. Witthin your organization, your users can be a part of as many teams as you would like without having to pay for additional seats. This article will teach. you how to: view users in your organization, invite new users, manage user roles, and remove users from your organization, invite new users to your organization, and remove users from your organization.
2. Open Organization Settings
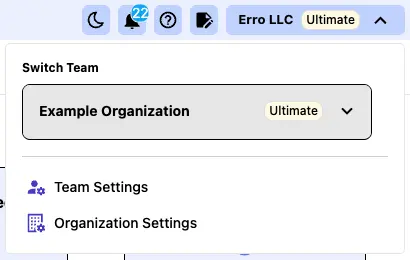
From any page within the Erro app, click on the organization name that you are currently viewing in the top left corner. This will open a dropdown menu where you can select 'Organization Settings' to view organization settings.
3. View Organization Members
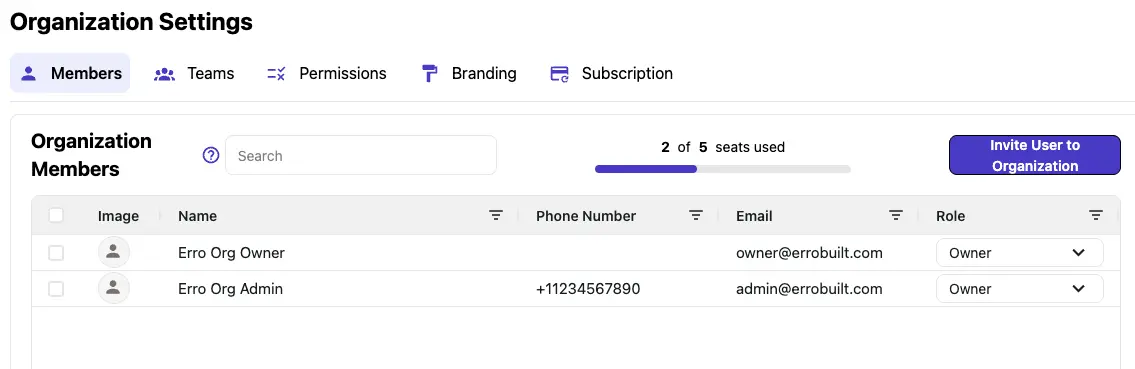
Organization settings will take you to the 'Members' tab by default. This is the tab where you will view and manage all users in your organization. Here you can see each user's name, profile picture, phone number, email, and role within the organization. We will be using this tab only for the remainder of this guide. For more information on the other tabs within organization settings, view the other articles within 'Organization Management'.
4. Invite a New User
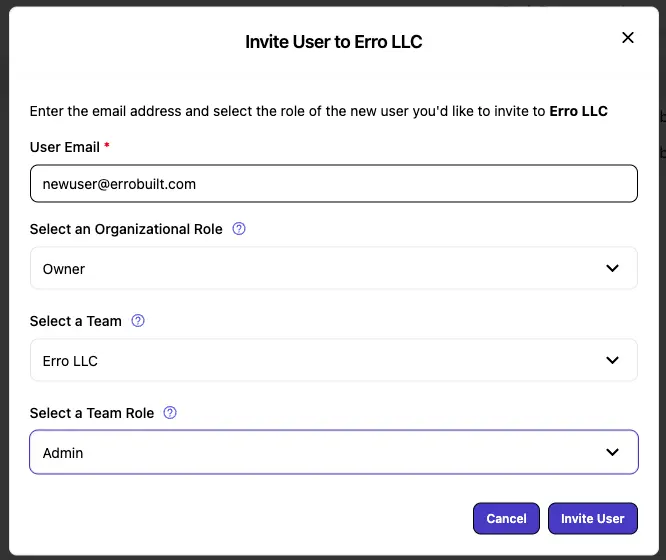
If you have any open seats within your organization, you can invite new users to join. To do this, click the 'Invite User to Organization' button in the top right corner of the 'Members' tab. A popup will appear where you can enter the email address of the user you want to invite. You can also select their role within the organization from the dropdown menu and what team you want to add them to. Once you have entered the email and selected the role and team, click 'Invite User' to send the invitation.
5. View Pending Invitation
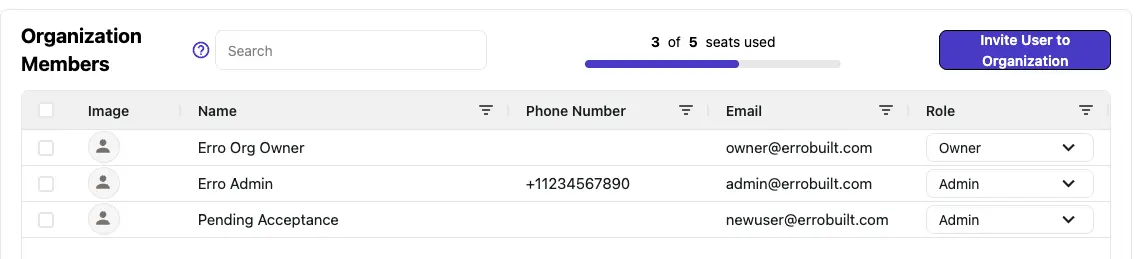
Once the invitation is sent, it will appear as 'Pending Acceptance' within your org team. It will remain this way until you delete the invite or the user accepts the invitation. Once the user accepts the invitation, they will appear as a member of your organization.
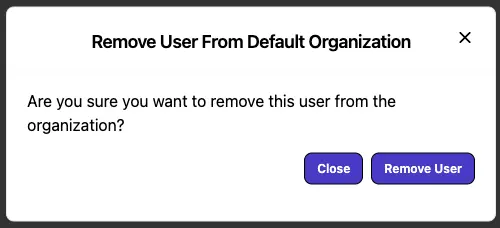
6. Remove User or Invitation
To remove a user or invitation from your organization, select the user using the checkbox next to their name. Then, click the 'Remove User' button that appears in the top right corner. Confirm the removal in the popup that appears to complete the process.
Other Organization Management Articles
Explore more articles to help you get the most out of Erro.
Organization Overview
What is an organization.
Erro Support
Update Organization Details/Branding
Personalize your Erro Organization by adding your own branding and details.
Erro Support
Manage Your Erro Subscription
Update your subscription to Erro including plan details and billing information.
Erro Support
Manage Organization Permissions
Manage roles and permissions for users within your organization to control access and capabilities.
Erro Support