Return to All Articles
Article Sections
1. Getting Started
2. Leads
3. Library
4. Sales Template
5. Estimate
6. Proposal
7. Invoice
8. Change Order
9. Organization Management
10. Team Management
Create an Estimate
Learn how to create an estimate step-by-step.
By Erro Support | 01/25/2026
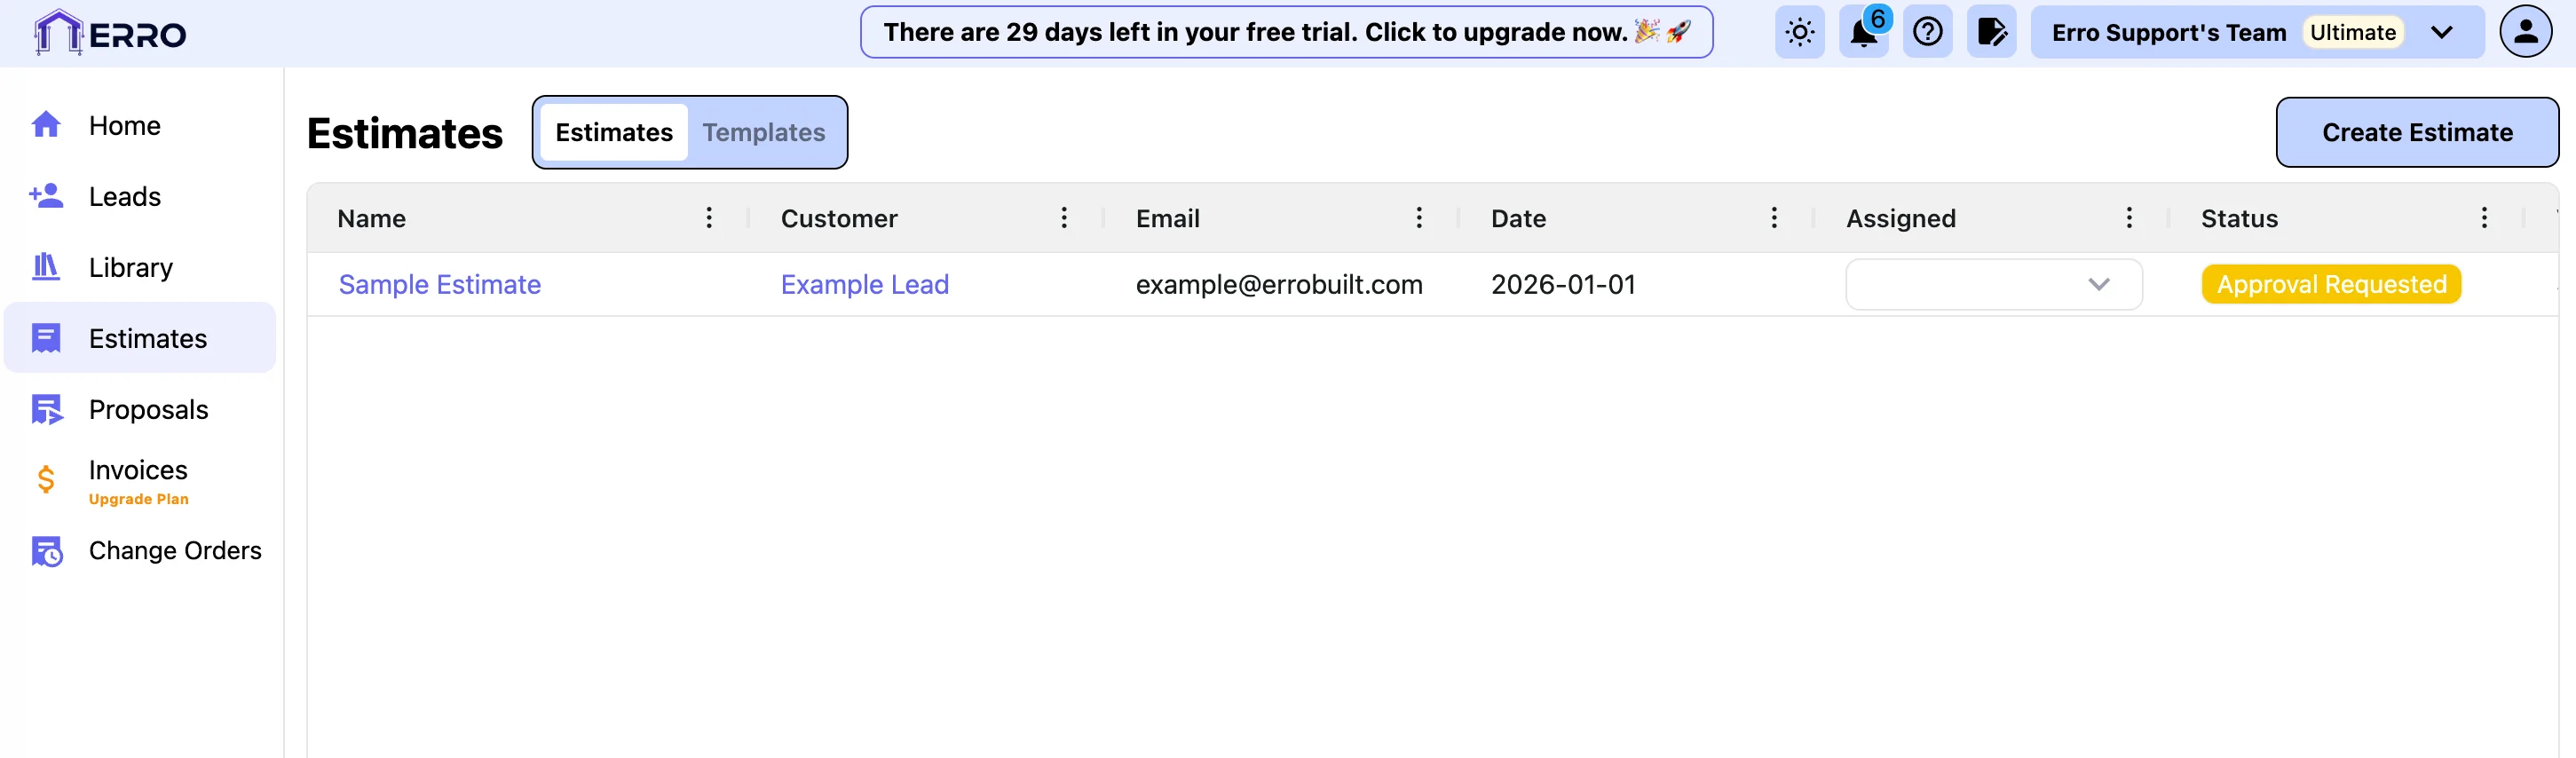
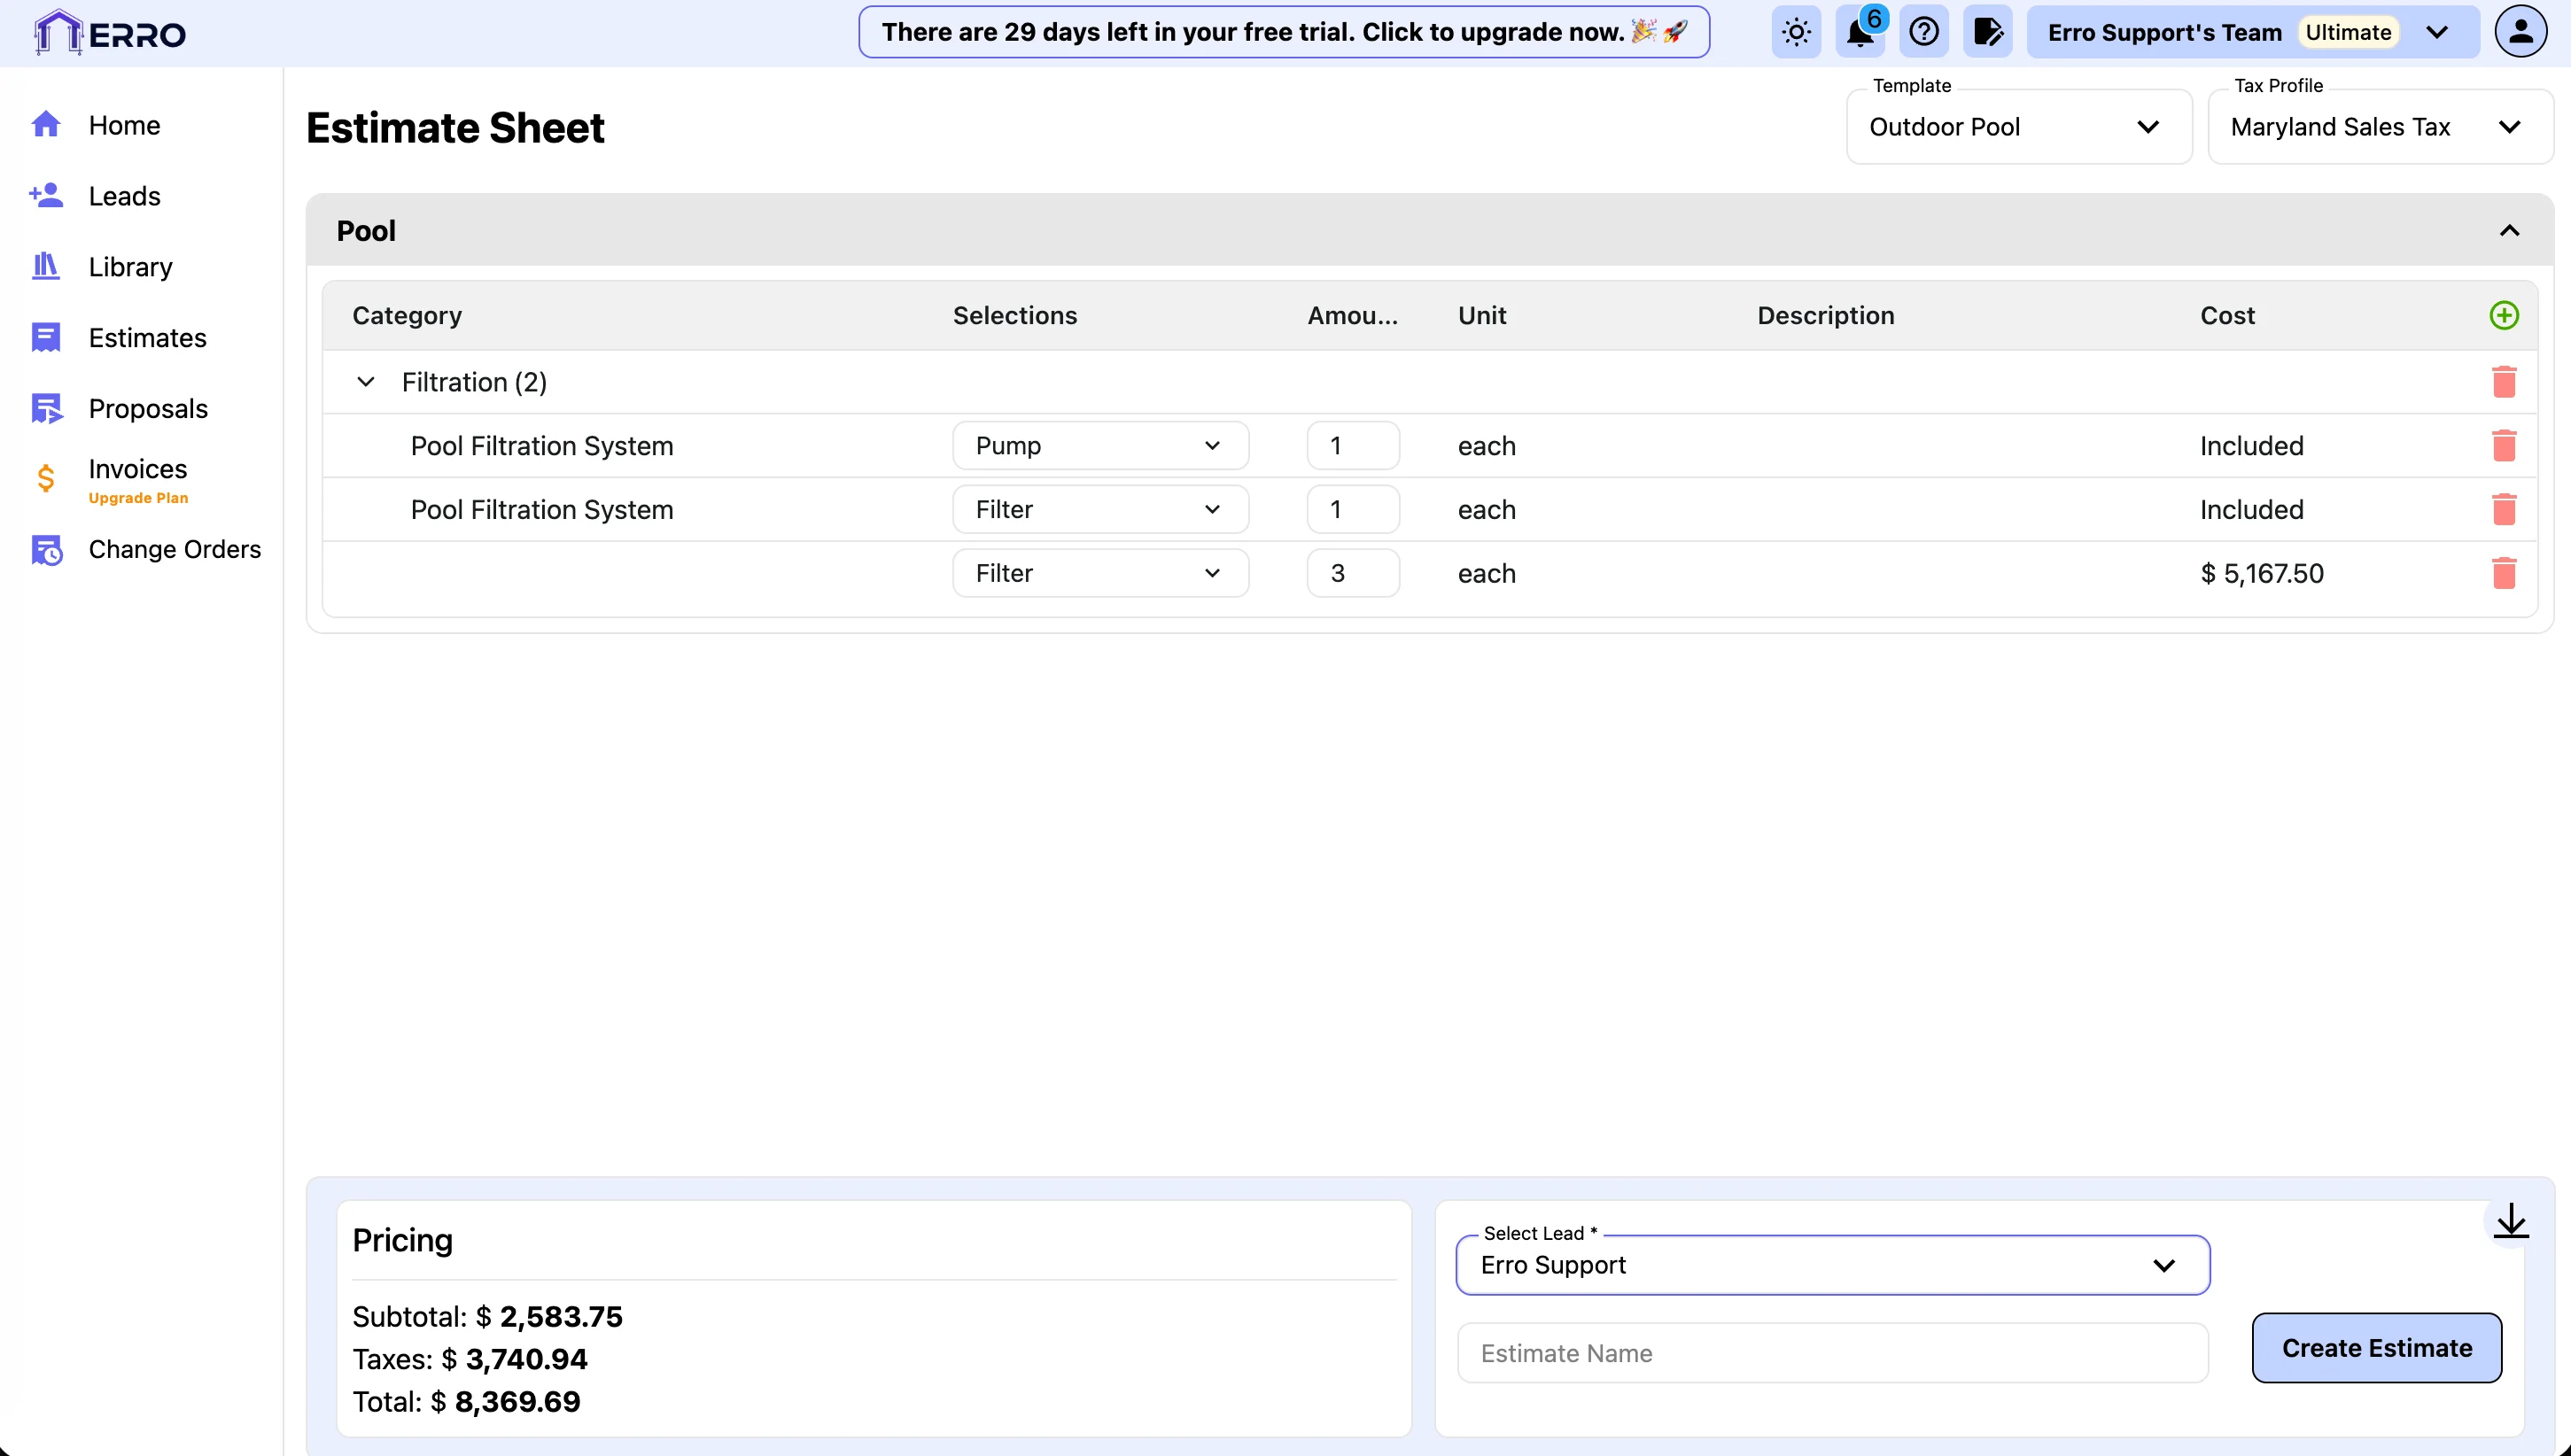
1. Create Estimate
Start by navigating to the Estimates section and clicking on the 'Create Estimate' button.
2. Choose a template to get started
Under the template section, select a pre-designed template that fits your project's needs. You can preview each template before making a selection. Once the template is added you can add the amount that you need for each line item.
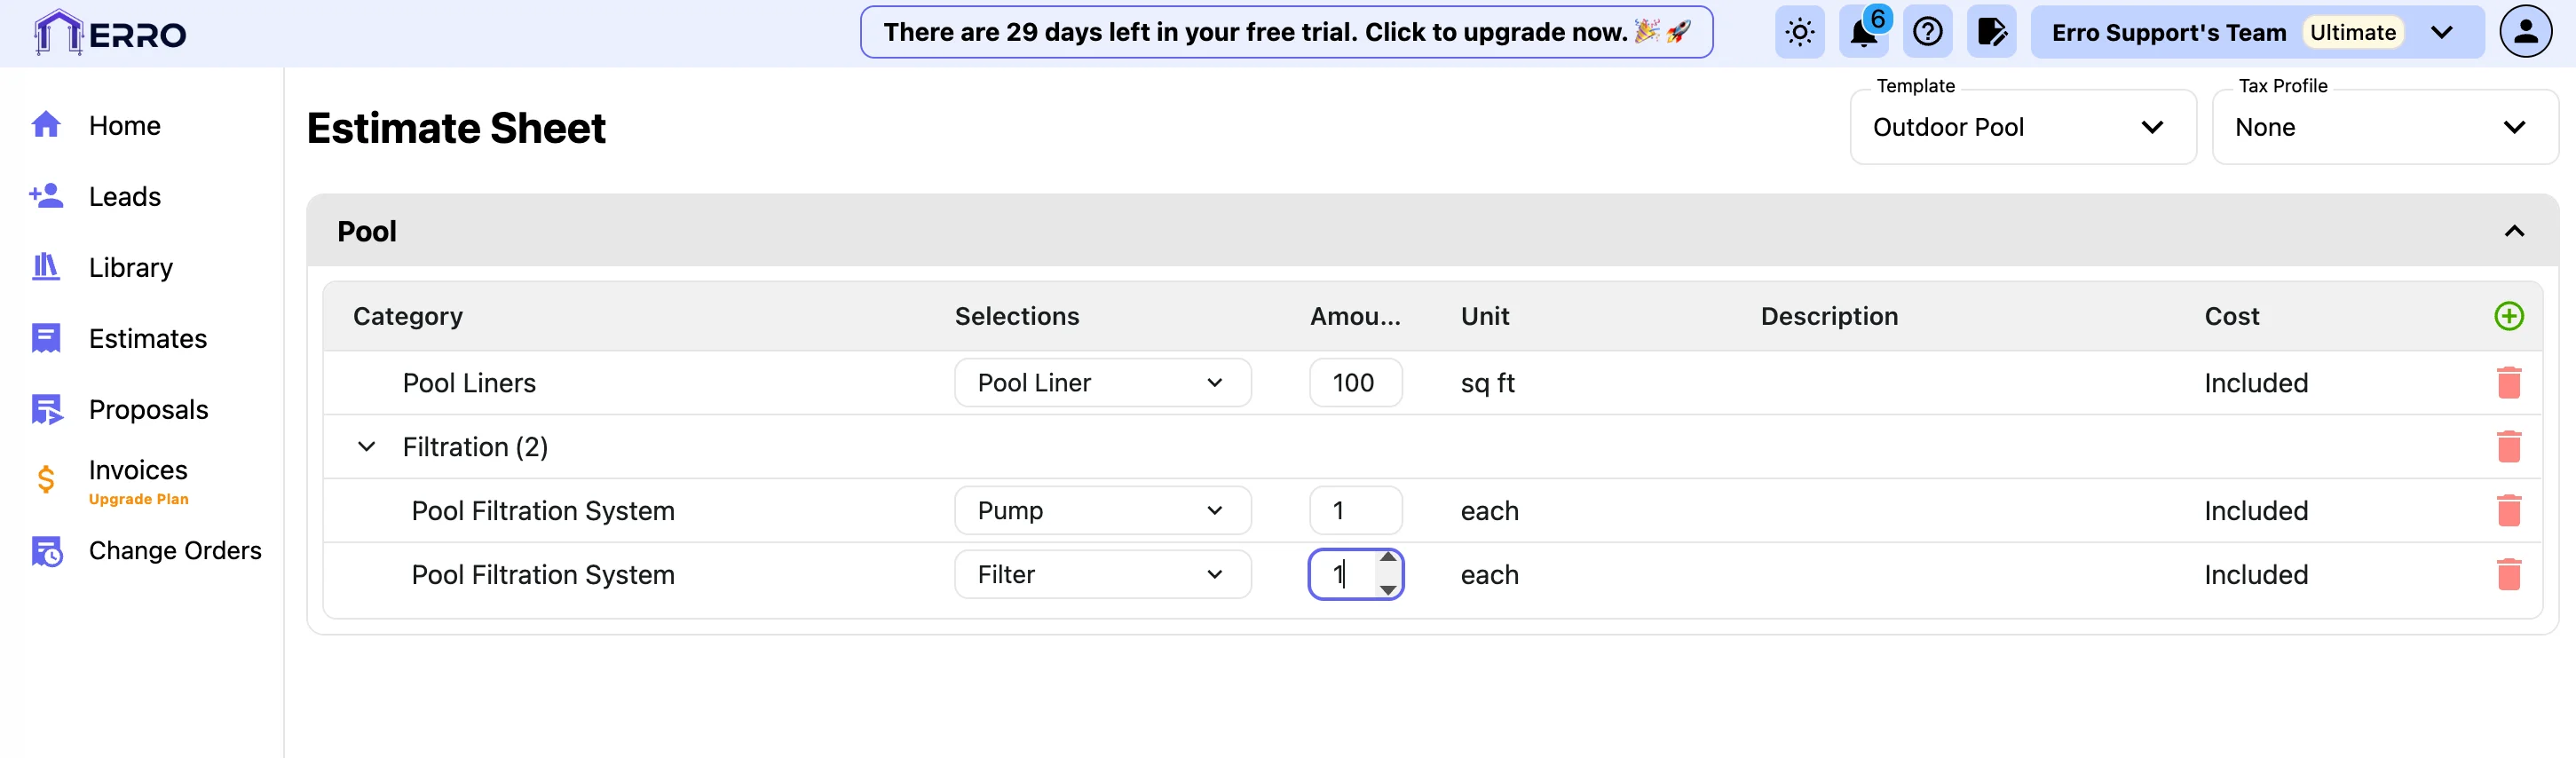
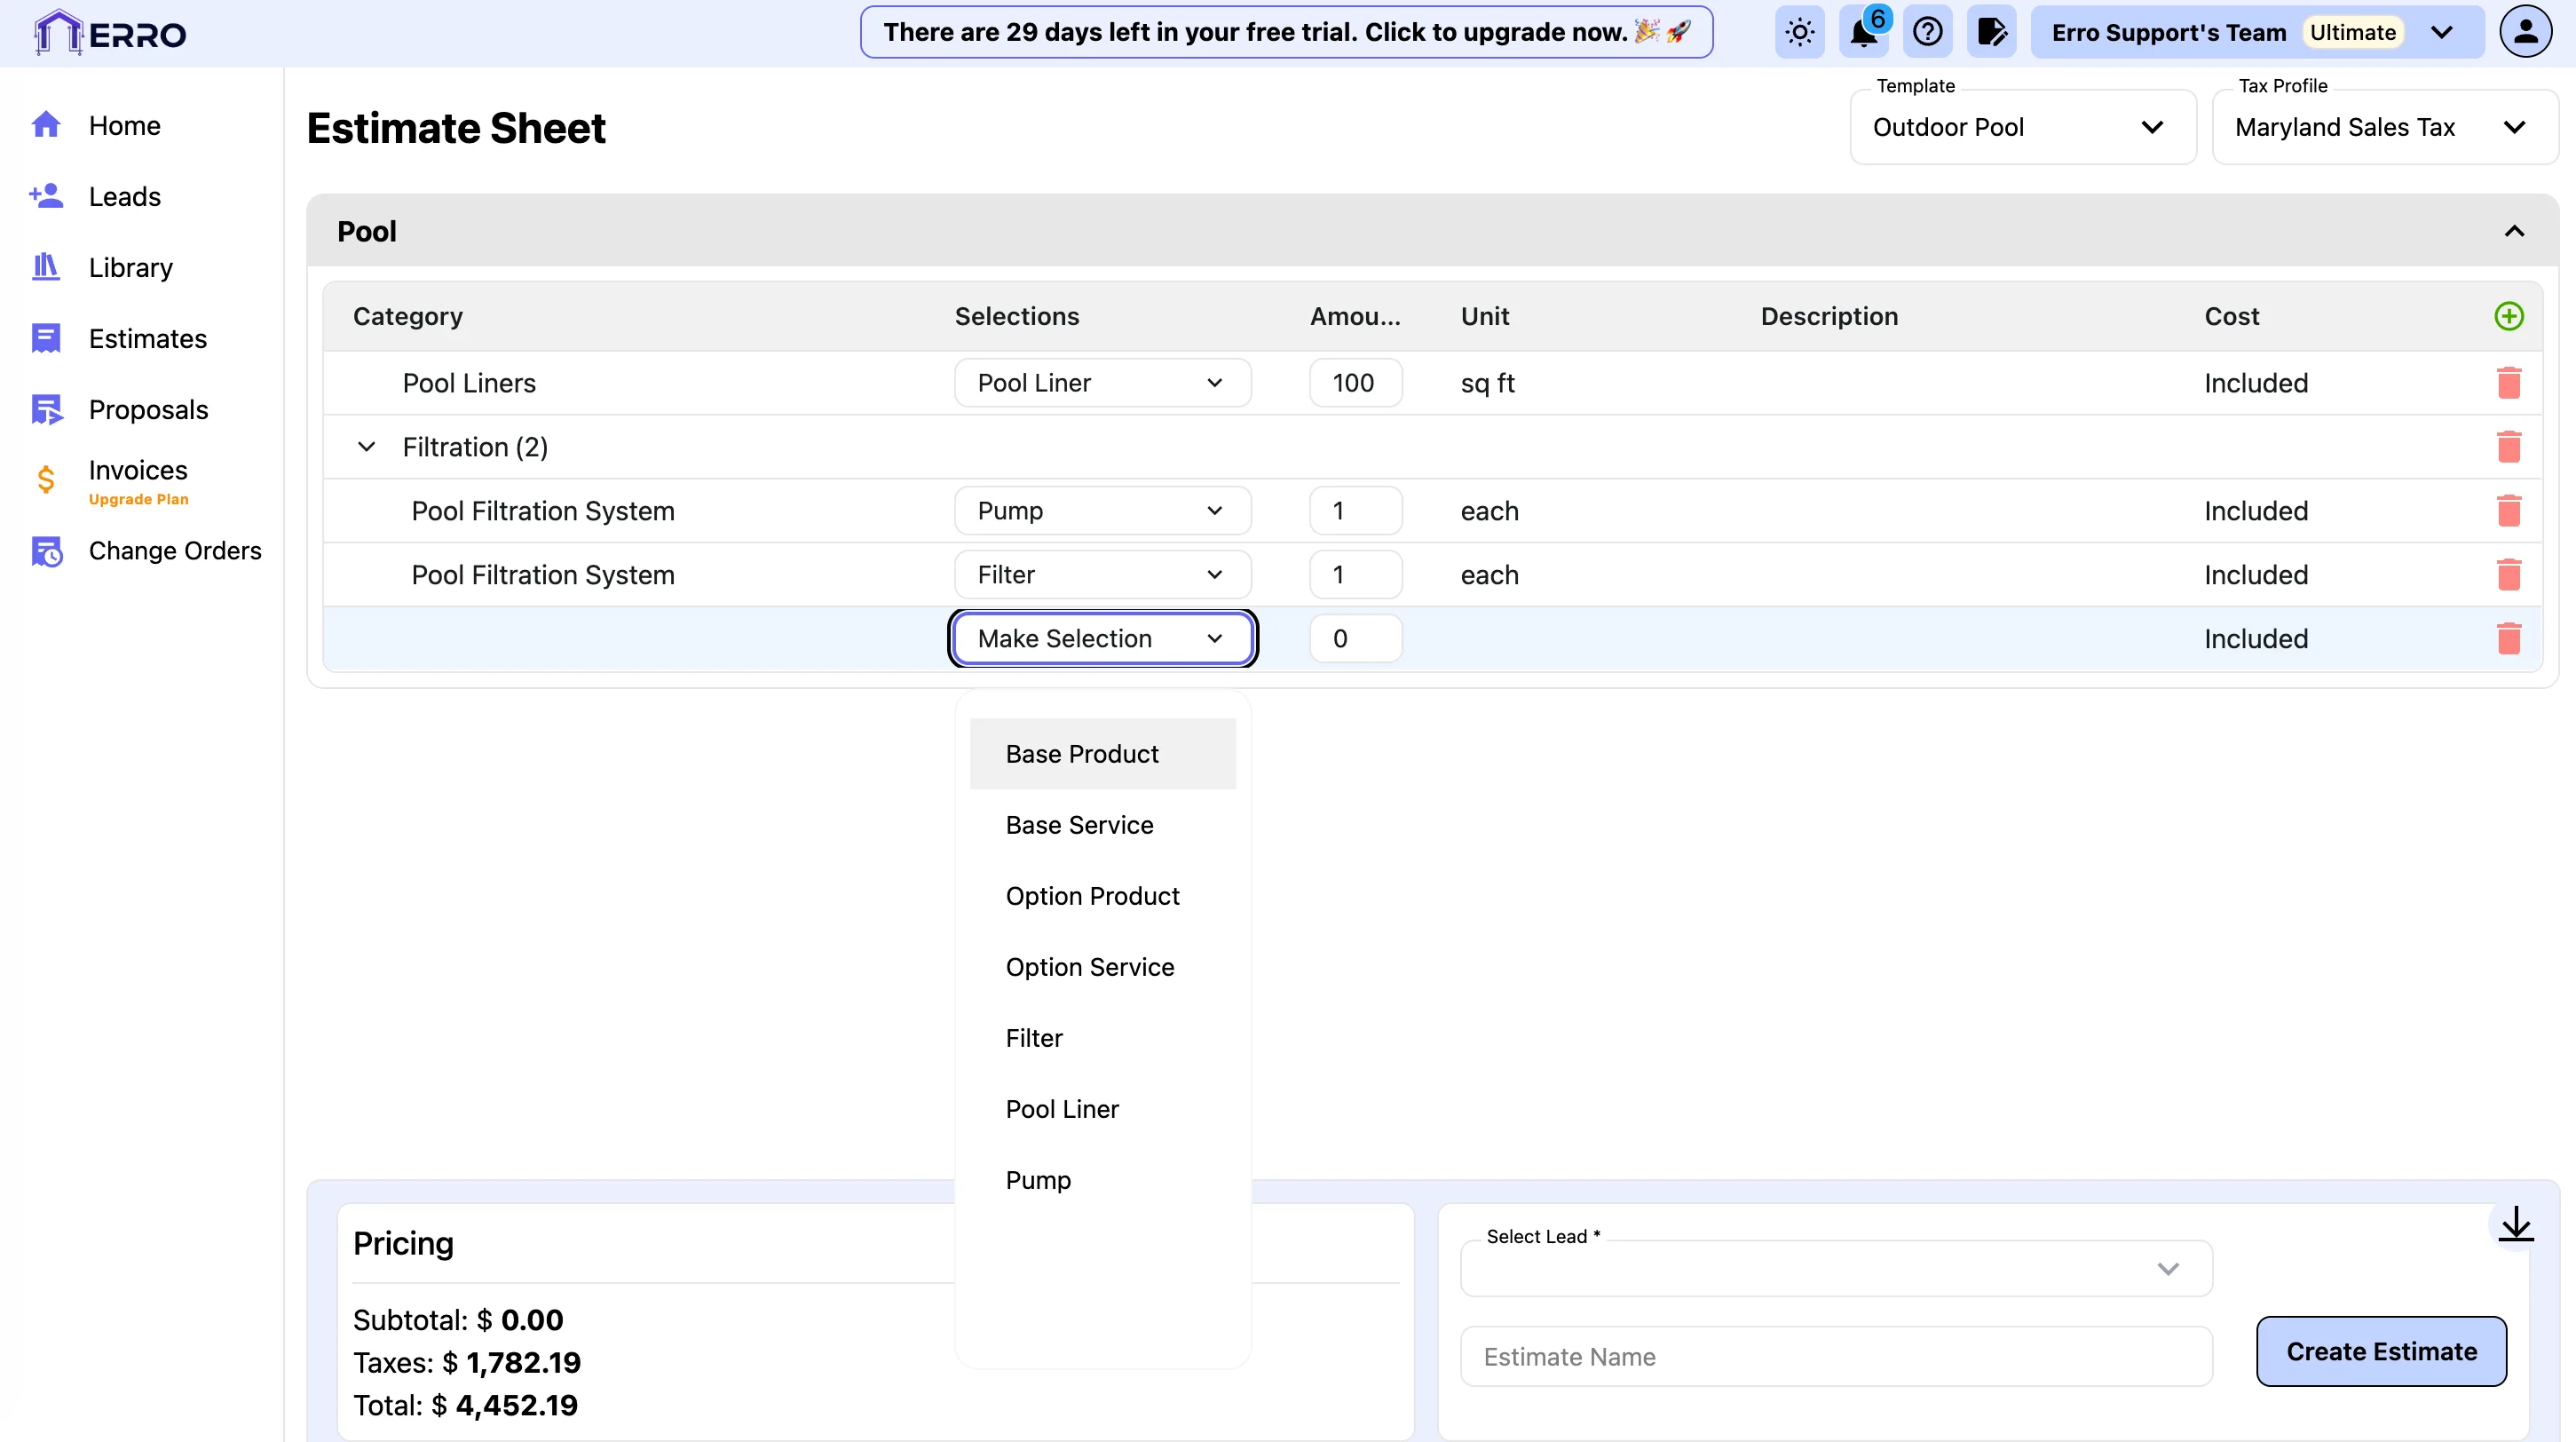
3. Assign a Tax Profile
Under the tax profile section, select the appropriate tax profile for your estimate.

4. Manually add items to your estimate
To add items manually, click on the '+' button to the right of the 'Cost' column. Select an item from the drop down to add to the estimate.
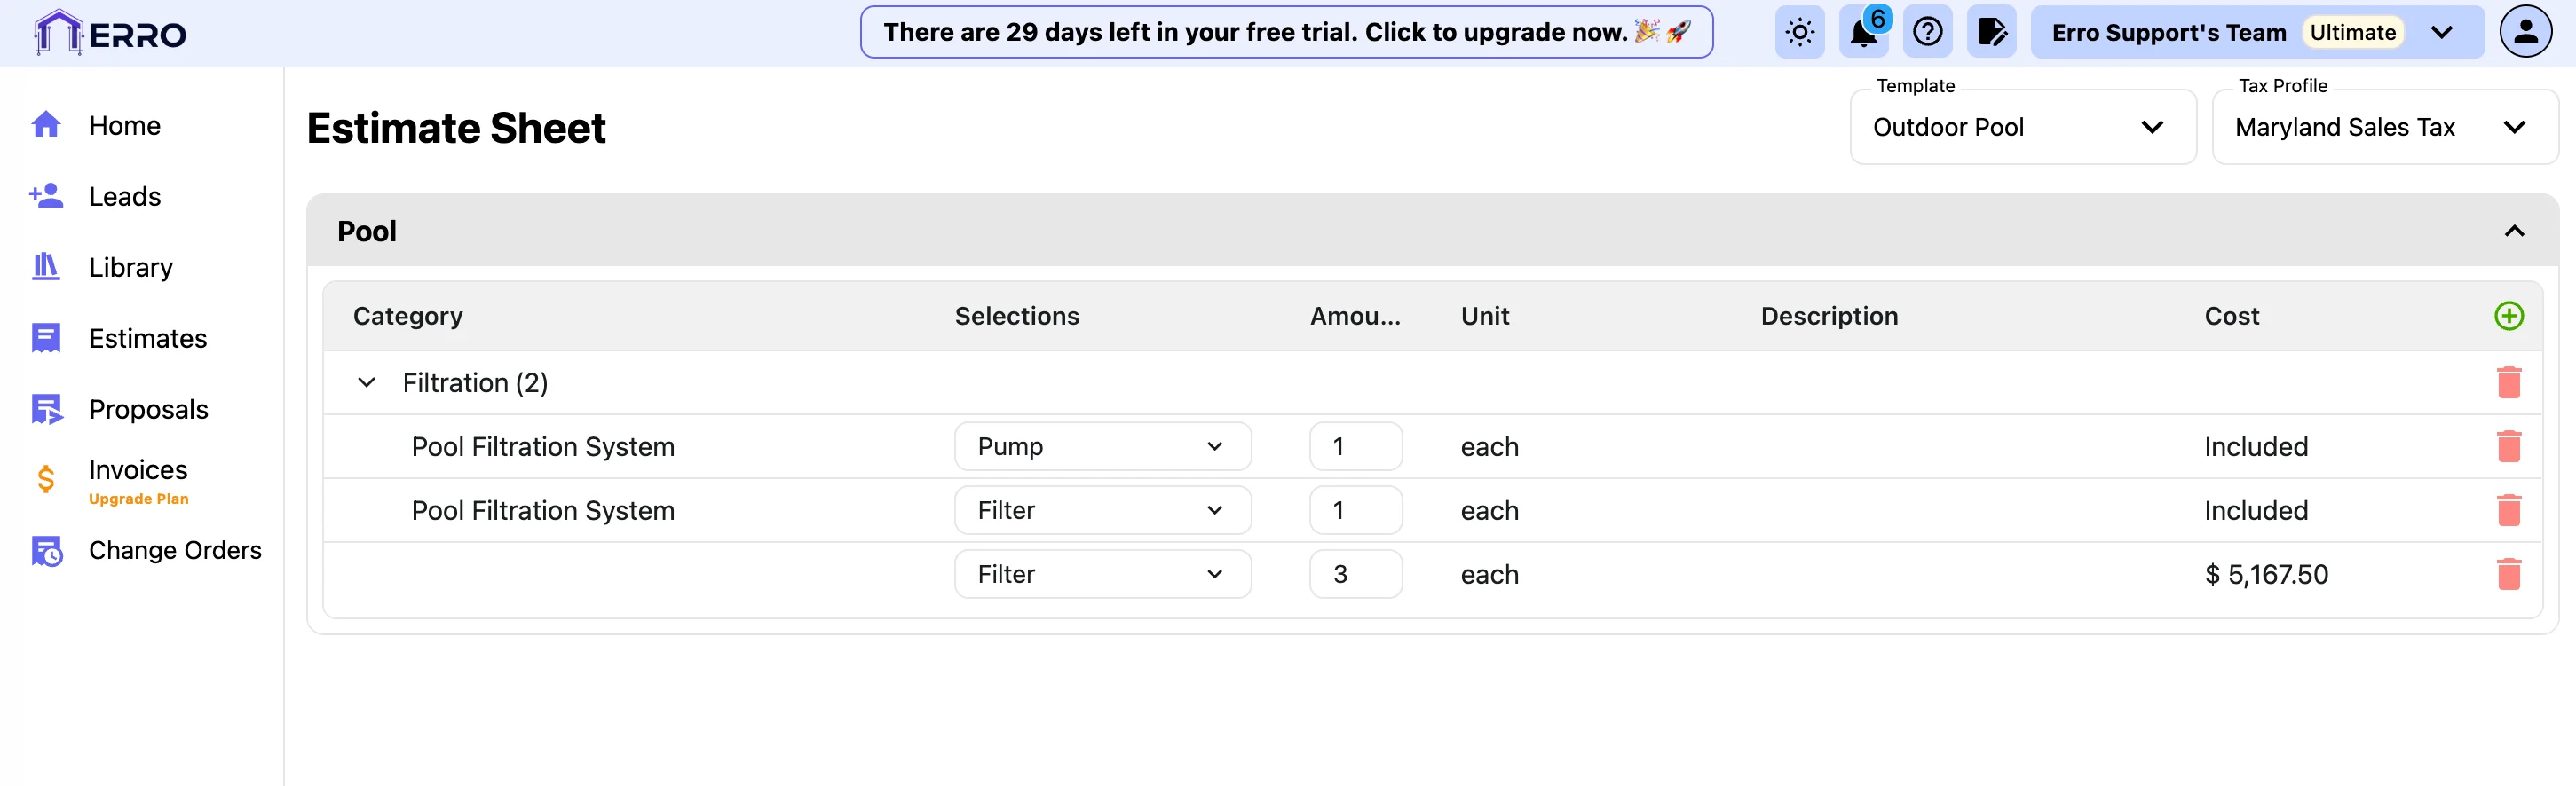
5. Delete items you don't need
To delete an item from your estimate, click on the trash can icon next to the item you wish to remove.
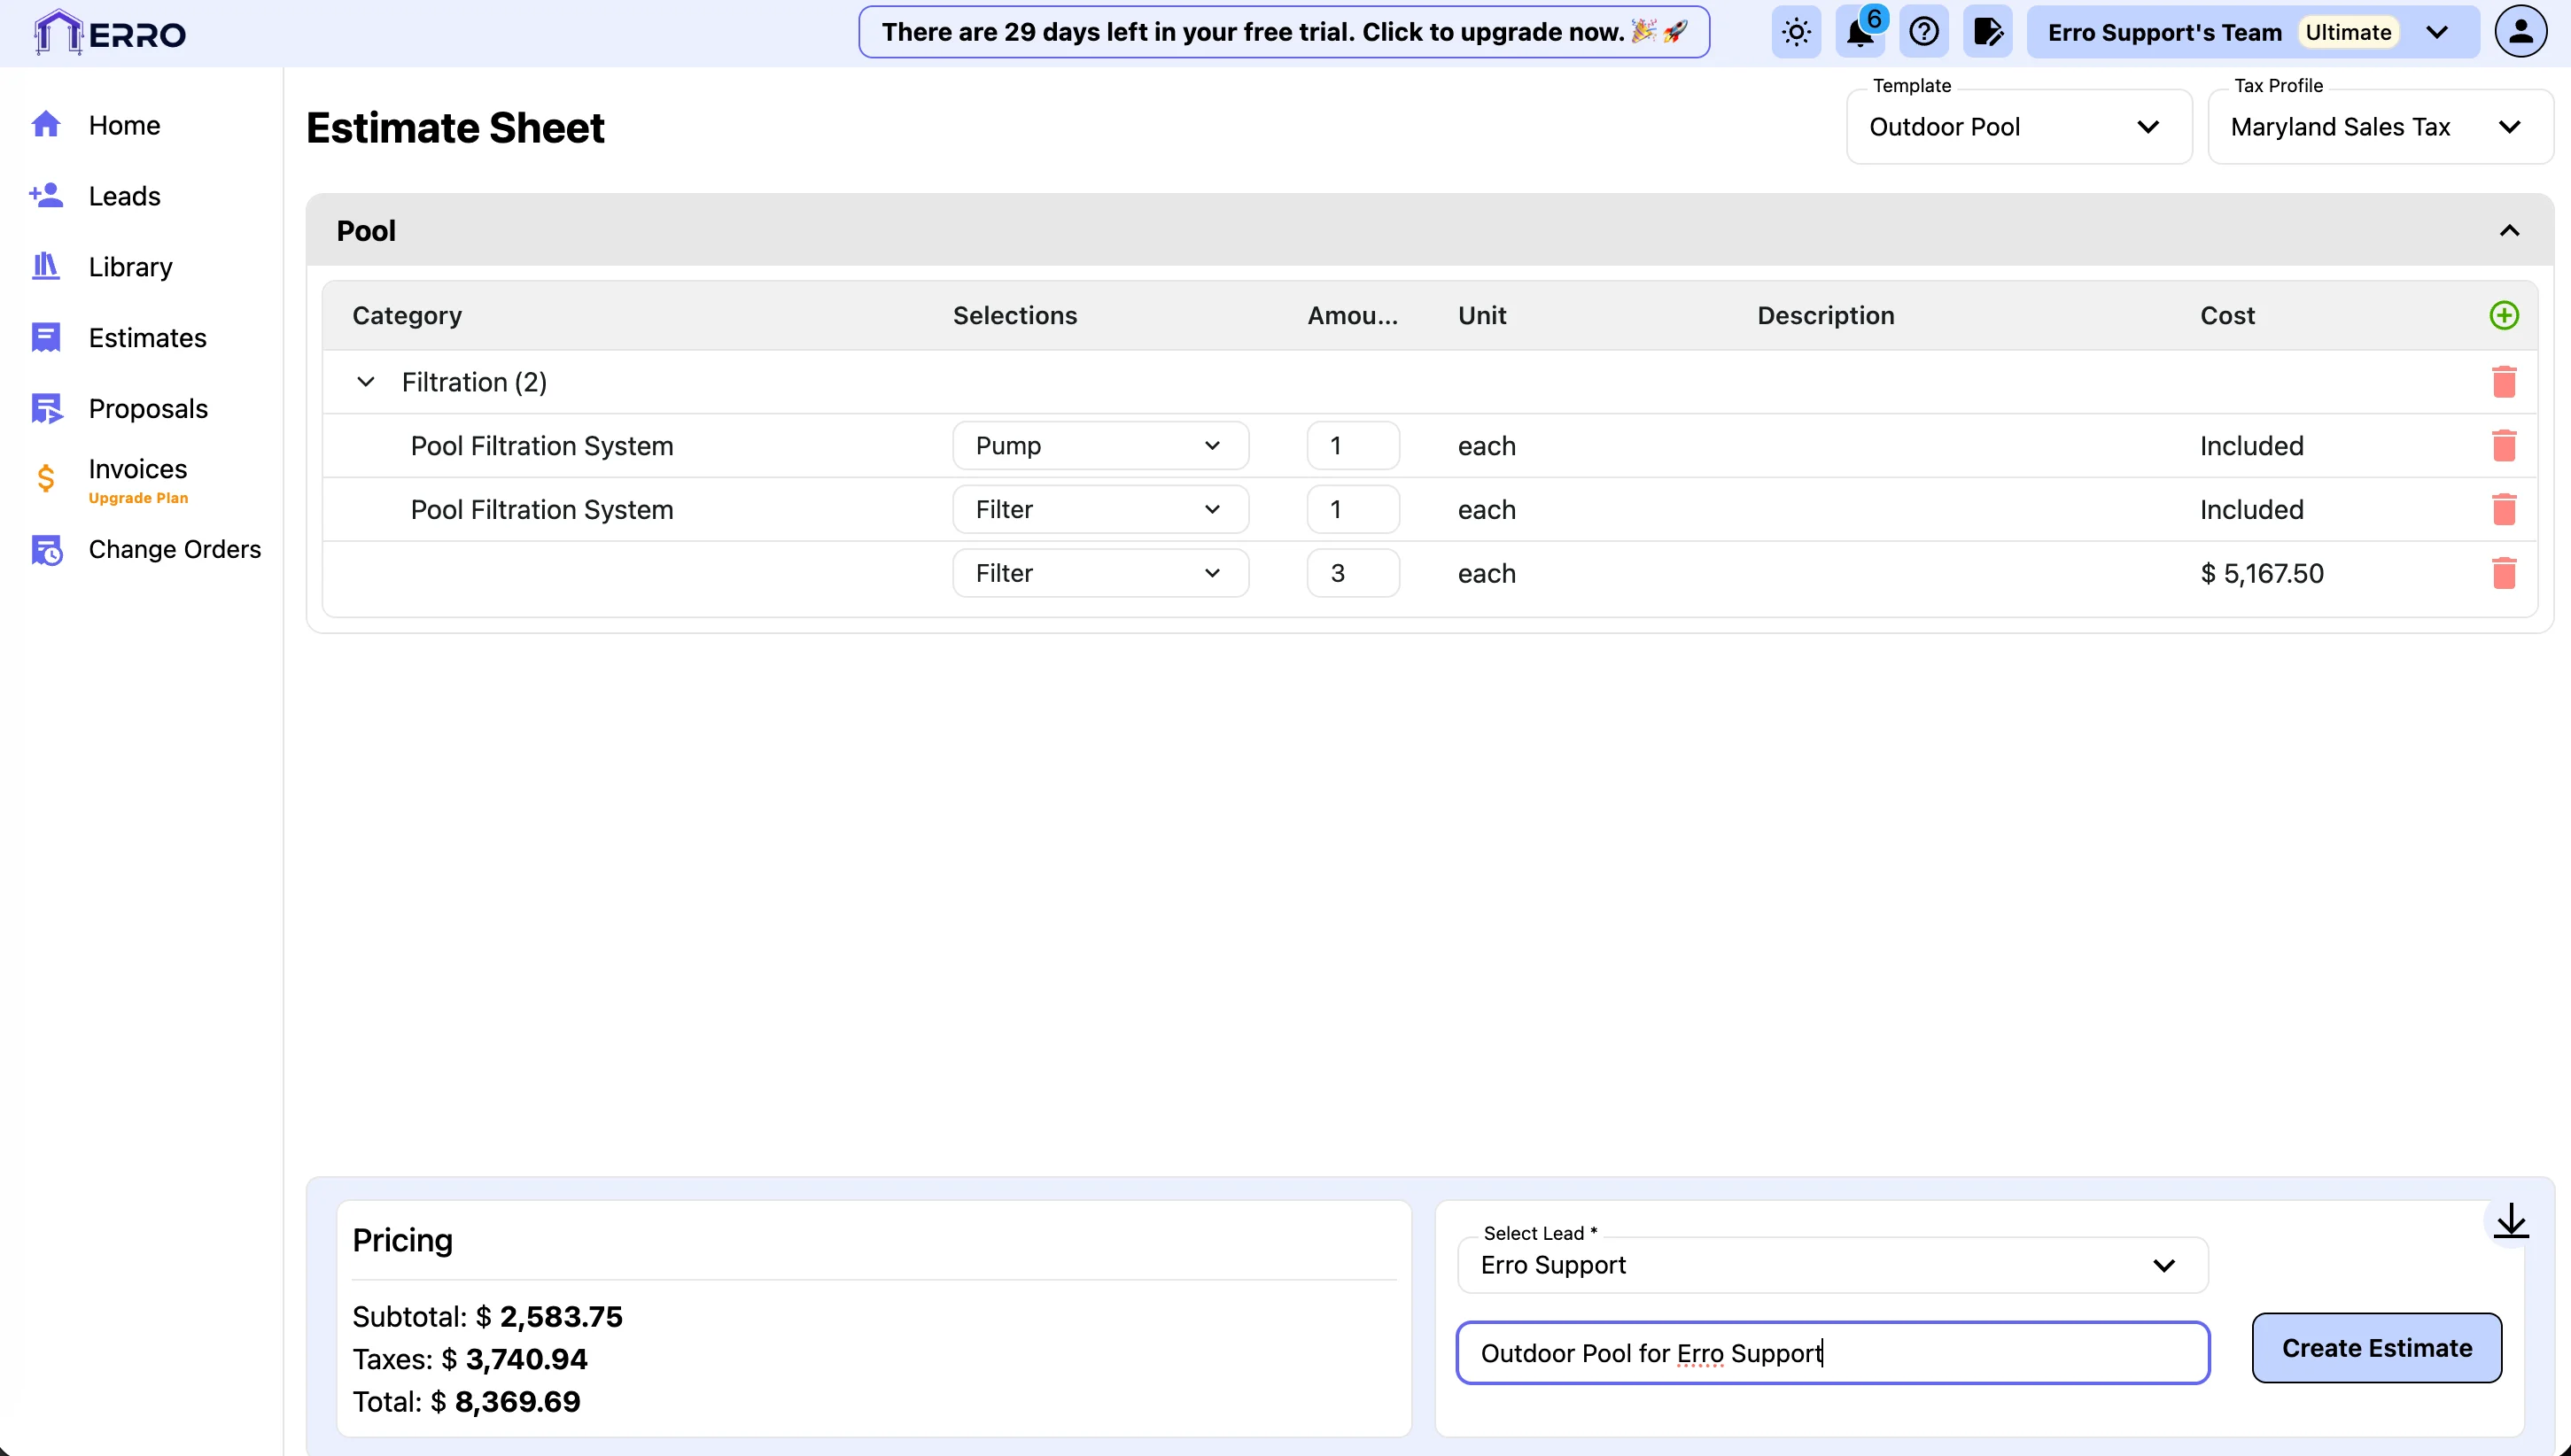
6. Assign Estimate to a Lead
To assign the estimate to a lead, click on the 'Select Lead' dropdown and select the appropriate lead from the list.
7. Add a Name to your Estimate and Click Create Estimate
Enter a name for your estimate in the 'Estimate Name' field and click the 'Create Estimate' button to save your estimate.
Other Estimate Articles
Explore more articles to help you get the most out of Erro.
Save a Revision of an Estimate
Step-by-step guide to saving a revision of an estimate.
Erro Support
Approve or Reject an Estimate
Step-by-step guide to approving or rejecting an estimate.
Erro Support