Return to All Articles
Article Sections
1. Getting Started
2. Leads
3. Library
4. Sales Template
5. Estimate
6. Proposal
7. Invoice
8. Change Order
9. Organization Management
10. Team Management
Edit an Invoice
Learn how to edit an invoice step-by-step. You can make changes to the invoice details before sending it to your client.
By Erro Support | 01/25/2026
1. Select Invoice to Edit
Start by navigating to the invoices section to see all your created invoices. To edit an invoice, click on the name of the invoice you want to modify.

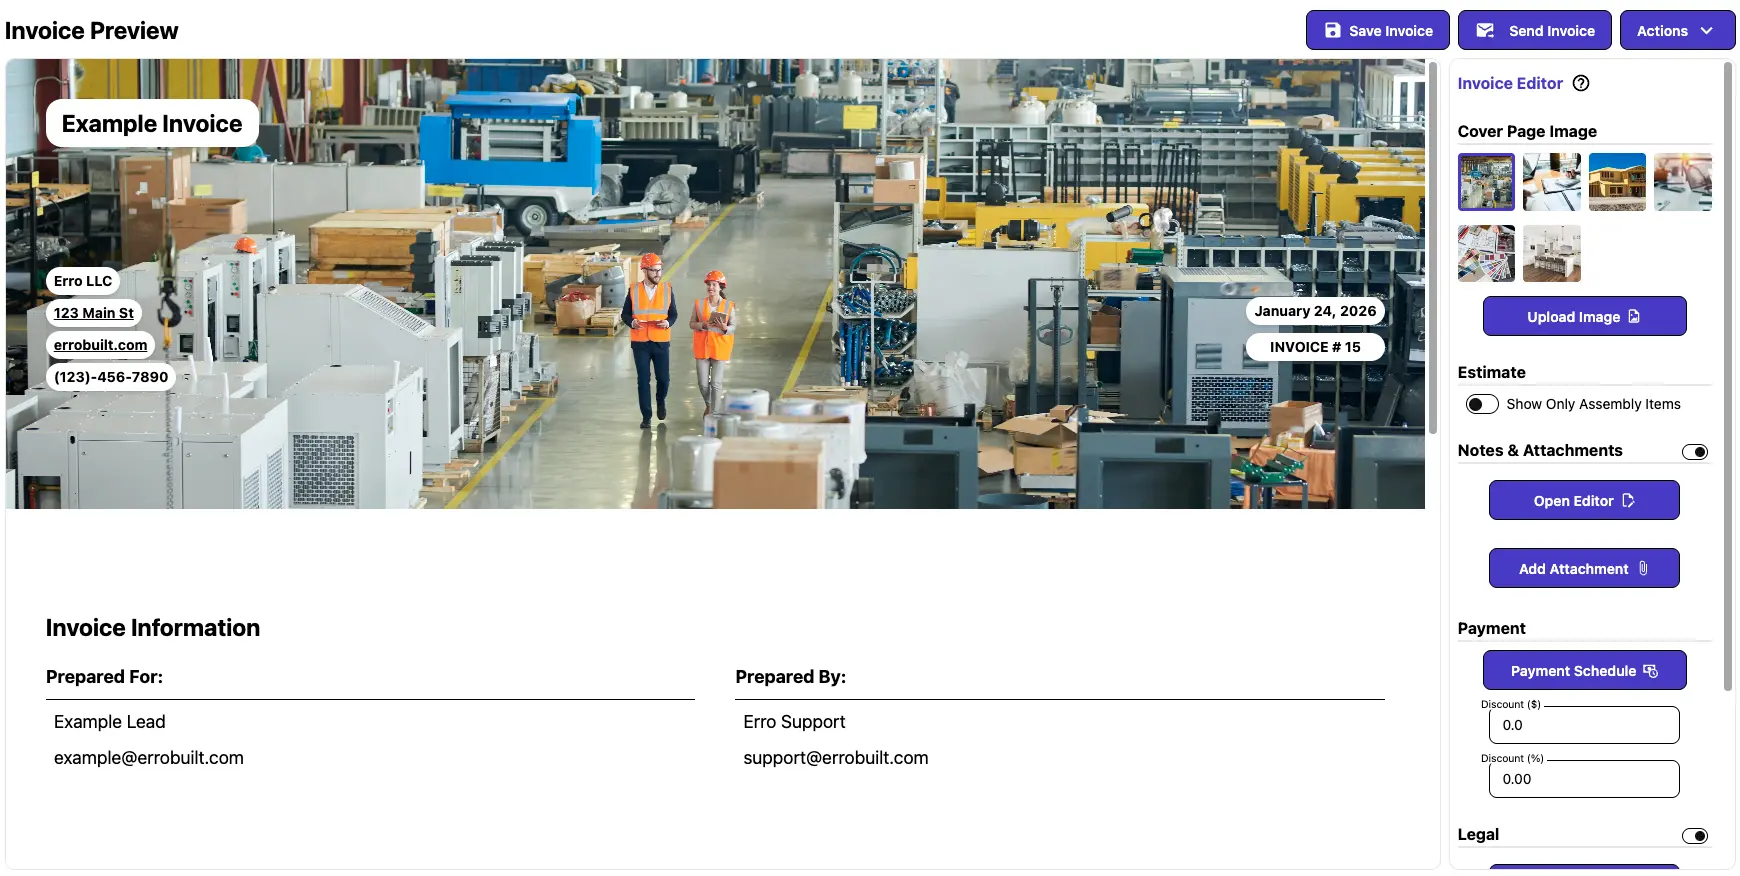
2. The Invoice Editor
The Invoice Editor allows you to modify the details of your invoice, including Estimate Items, Notes & Attachments, Schedule Payments, and more. All edits will be made using the column on the right side and a preview of the invoice will be displayed on the left side.
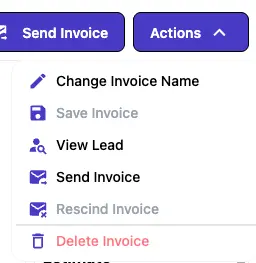
3. Change Invoice Name
To rename an invoice, click the 'Actions' button and select 'Change Invoice Name'. Enter the new name for your invoice and confirm the change.
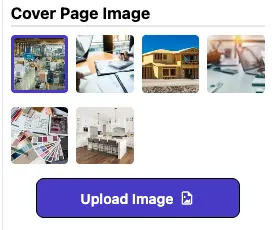
4. Choose Your Cover Image
For the cover image, select an appropriate image that represents the invoice or your brand. This image will appear at the top of the invoice.
5. Estimate Information
Using the switch under Estimate, you can choose whether you want to show the itemized estimate details on the invoice, or just the Sales Assemblies and totals.

6. Notes & Attachments
Using the Notes & Attachments section, you can add any additional information or files that are relevant to the invoice. This helps provide more context to your client. Files can include PDFs, images, or documents related to the work completed.

7. Payments
Using the Payments section, you can set up a payment schedule for your client, specifying due dates and amounts to be paid in installments. Additionally in this section, you can add discounts or credits to the invoice total if applicable.

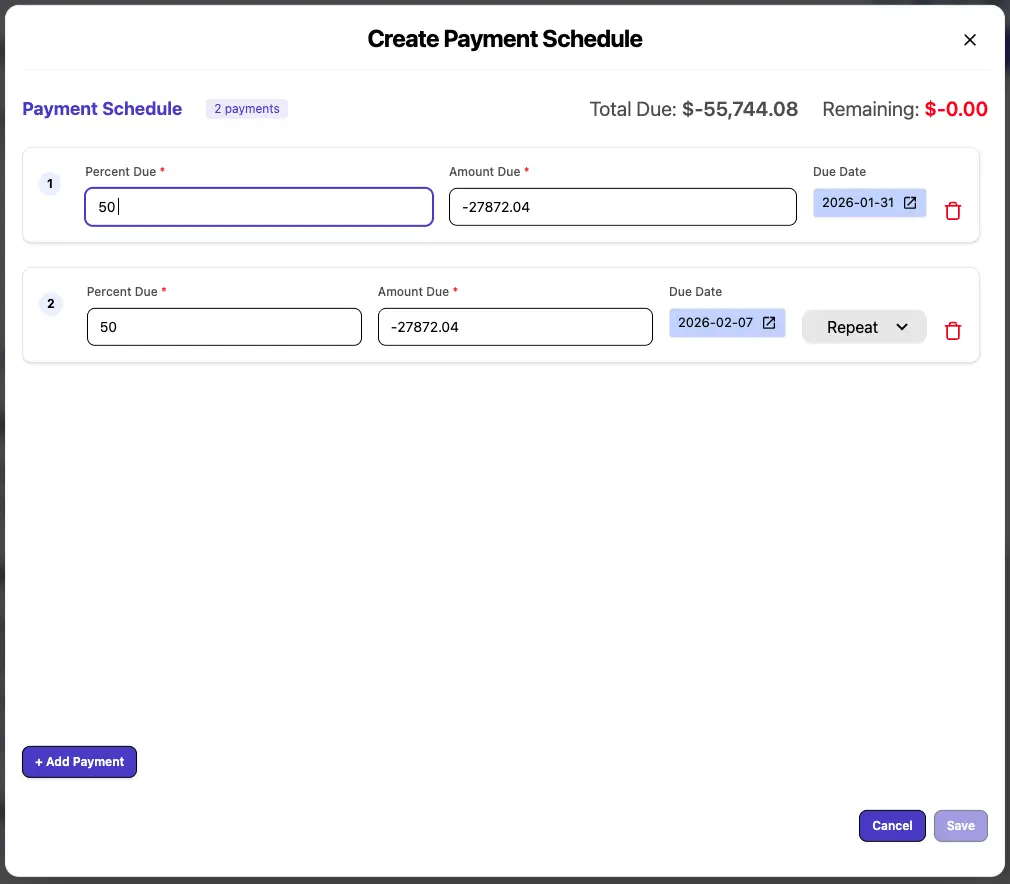
8. Payment Schedule
By clicking the 'Payment Schedule' button, you can manage the schedule of payments for this invoice, setting it up as a payment plan or a one-time payment.
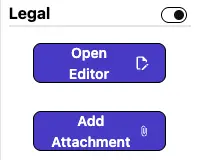
9. Legal
The Legal section allows you to add any legal terms or conditions that apply to the invoice. This can include payment terms, warranties, or other important information that your client should be aware of. It also allows you to add any relevant legal attatchments.
10. Save Your Changes
After making your changes, be sure to save the invoice to apply the updates. To save, click the 'Save Invoice' button located at the top right corner of the editor.

Other Invoice Articles
Explore more articles to help you get the most out of Erro.
Create an Invoice
Step-by-step guide to creating an invoice.
Erro Support
Create a Payment Schedule
Step-by-step guide for creating a payment schedule.
Erro Support
Send an Invoice
Step-by-step guide for sending an invoice.
Erro Support
Record a Payment
Step-by-step guide for recording a payment.
Erro Support